Skip to Main Content
Submit
Home
About
About
Contact
Work With Me
Recipe Index
Appetizers
Cocktails
Desserts
Entrees
Chicken
Mexican
Pasta
Instant Pot
Salads
Sides
Soups
Vegetarian/Vegan
Recipe Index
Submit
Home
About
About
Contact
Work With Me
Recipe Index
Appetizers
Cocktails
Desserts
Entrees
Chicken
Mexican
Pasta
Instant Pot
Salads
Sides
Soups
Vegetarian/Vegan
Recipe Index
baked
Crunchy Baked Ranch Chickpeas
Baked Peanut Butter Banana Donuts
Crispy Baked Sweet Potato Fries
Baked Apple Cider Doughnuts
Easy Apple Crisp
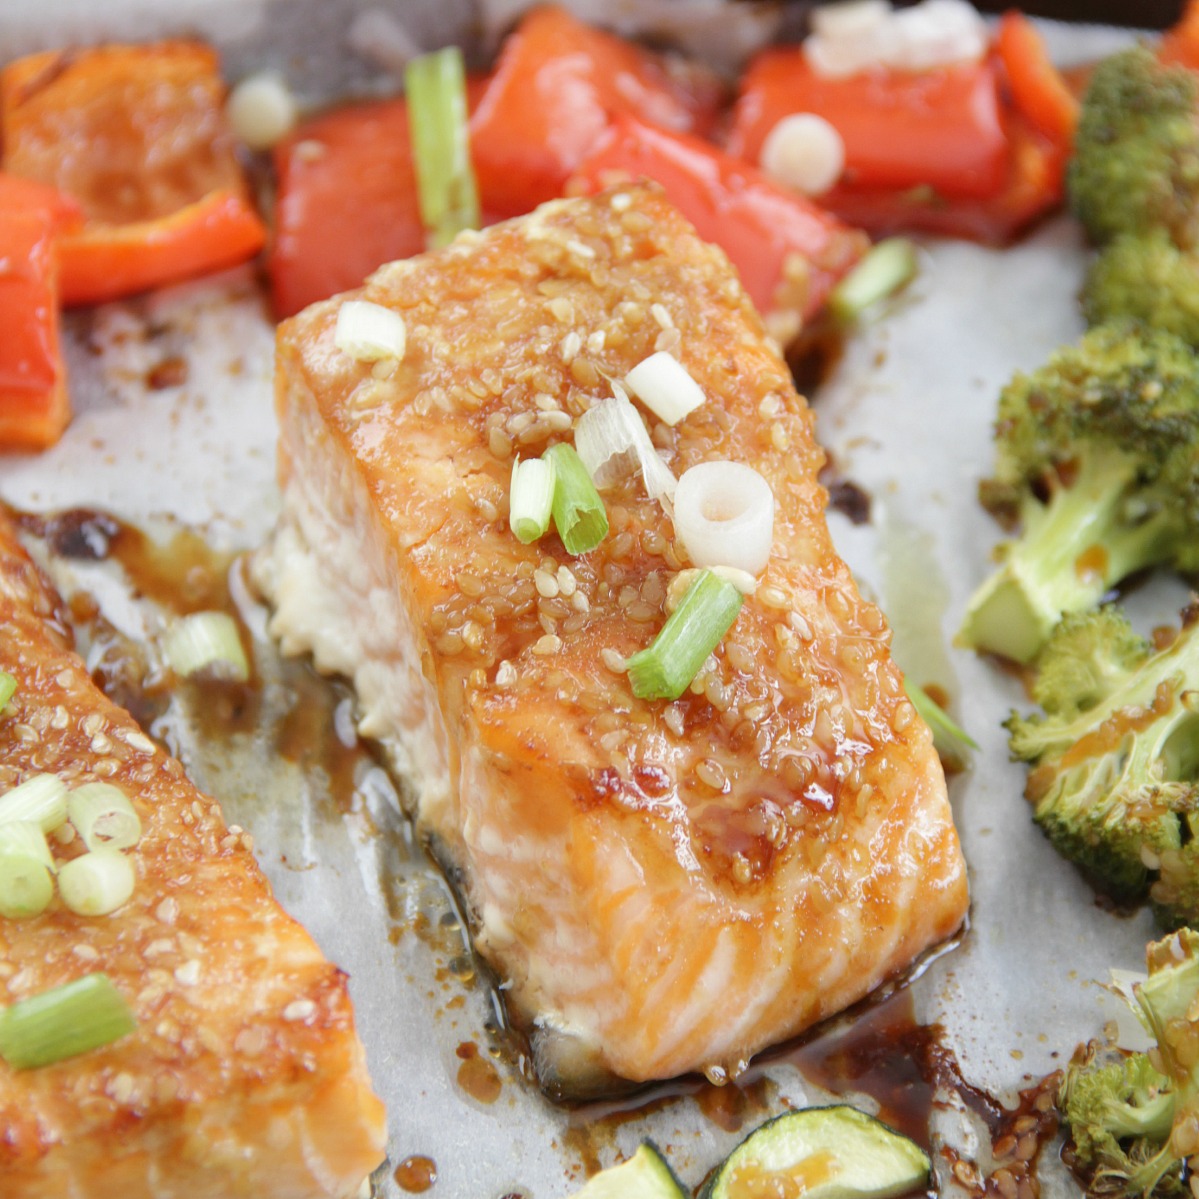
Baked Teriyaki Salmon
More:
1
2
3
4
Next »