Skip to Main Content
Submit
Home
About
About
Contact
Work With Me
Recipe Index
Appetizers
Cocktails
Desserts
Entrees
Chicken
Mexican
Pasta
Instant Pot
Salads
Sides
Soups
Vegetarian/Vegan
Recipe Index
Submit
Home
About
About
Contact
Work With Me
Recipe Index
Appetizers
Cocktails
Desserts
Entrees
Chicken
Mexican
Pasta
Instant Pot
Salads
Sides
Soups
Vegetarian/Vegan
Recipe Index
cooking light
Chicken Marsala
Low-Fat Vanilla Bean Ice Cream
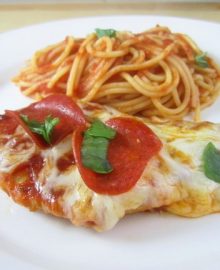
Chicken Pepperoni-Marinara