Easter Bunny Cheese Ball

When you go to search for “cute” Easter recipes, most of what you get is desserts and while they all look scrumptious, I wanted to make a savory recipe that is both adorable and tasty. This sweet Easter Bunny Cheese Ball is actually very easy to make. As someone with very little artistic decorating skills when it comes to food, I can assure you no such skills are required to make this little guy.
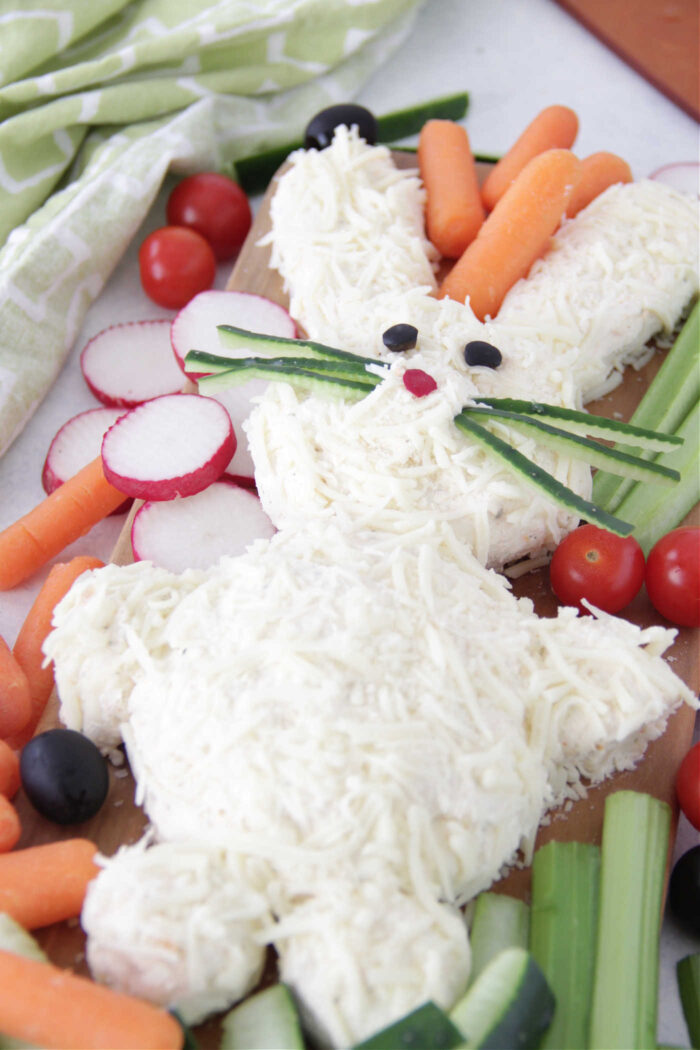
The cheese ball is made with cream cheese and freshly grated white cheddar cheese and seasonings. After mixing it up, you just have to roll and shape into the body, head, ears, and legs (which look more like hands and feet here, but whatevs). I prepped this cheese ball the night before and then in the morning, fluffed him up with some fine shredded Italian blend cheese for his fur, olive eyes, cucumber whiskers, and his sweet radish nose.
The hardest part about this cheese ball is deciding when and where to dig into him! :)

Recipe Tips and Suggestions:
- You can prep this cheese ball the night before you plan to serve it by mixing up the base of the cheese ball, and shaping the bunny on a serving board or tray. Cover with foil and chill overnight. I added the shredded cheese for his fur the day of and decorated his face as it only took a few minutes. I wouldn’t cut the veggies for his face until you are ready to serve!
- The base of the cheese ball is cream cheese and fresh shredded white cheddar. You can use different cheeses like jack cheese or even pepper jack for a kick. On the outside for the fur, I used Italian blend as I wanted a bit more flavor, but plain mozzarella would also work fine!
- Feel free to add in additional mix-ins like sliced green onion or more seasonings such as ranch seasoning for added flavor. I kept this simple for my picky kiddos.
- You can also experiment with different veggies for his face, but I used olives for the eyes, a small sliver of radish for his nose and cucumbers for the whiskers. Carrots or celery could also work!
- I served this with a big try of veggies and olives, but I would also recommend serving with some crackers!
Easter Bunny Cheese Ball- A fun savory appetizer or snack to make for Easter! This simple cheese ball is delicious and adorable!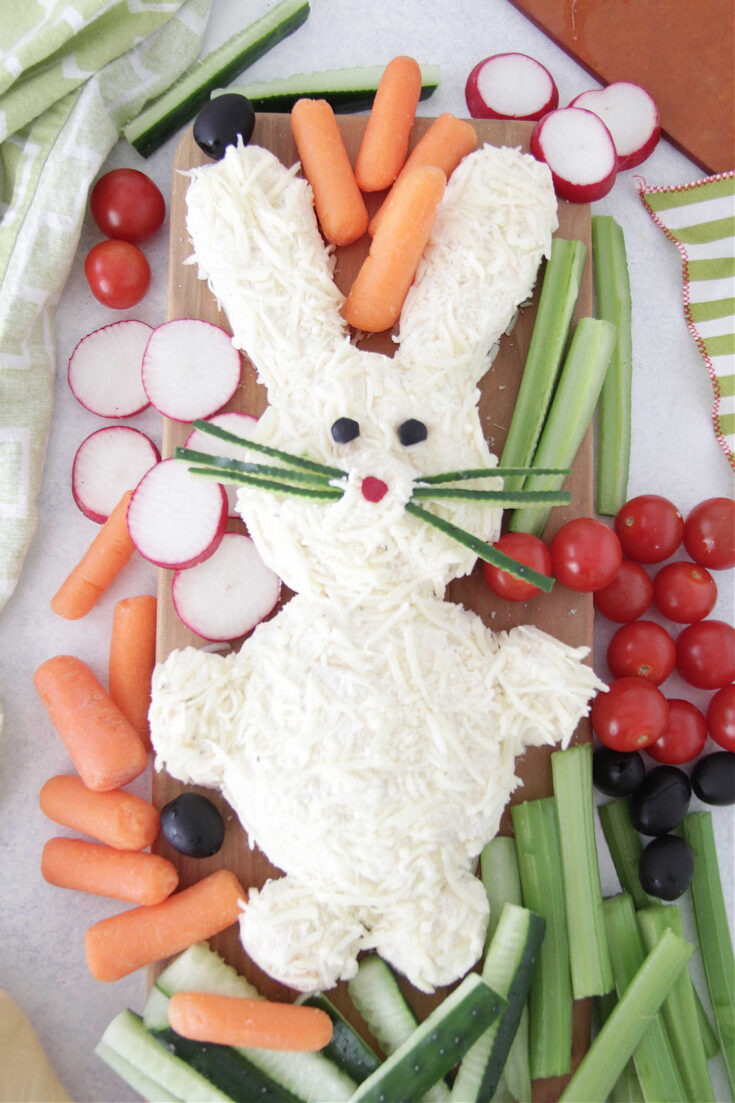
Easter Bunny Cheese Ball
Ingredients
Instructions
Nutrition Information:
Yield:
8
Serving Size:
1/8th
Amount Per Serving:
Calories: 171Total Fat: 14gSaturated Fat: 8gTrans Fat: 0gUnsaturated Fat: 5gCholesterol: 42mgSodium: 344mgCarbohydrates: 2gFiber: 0gSugar: 0gProtein: 9g 


One Comment on “Easter Bunny Cheese Ball”
Pingback: 36 Just Gorgeous Easter Treats To Make With Your Kids